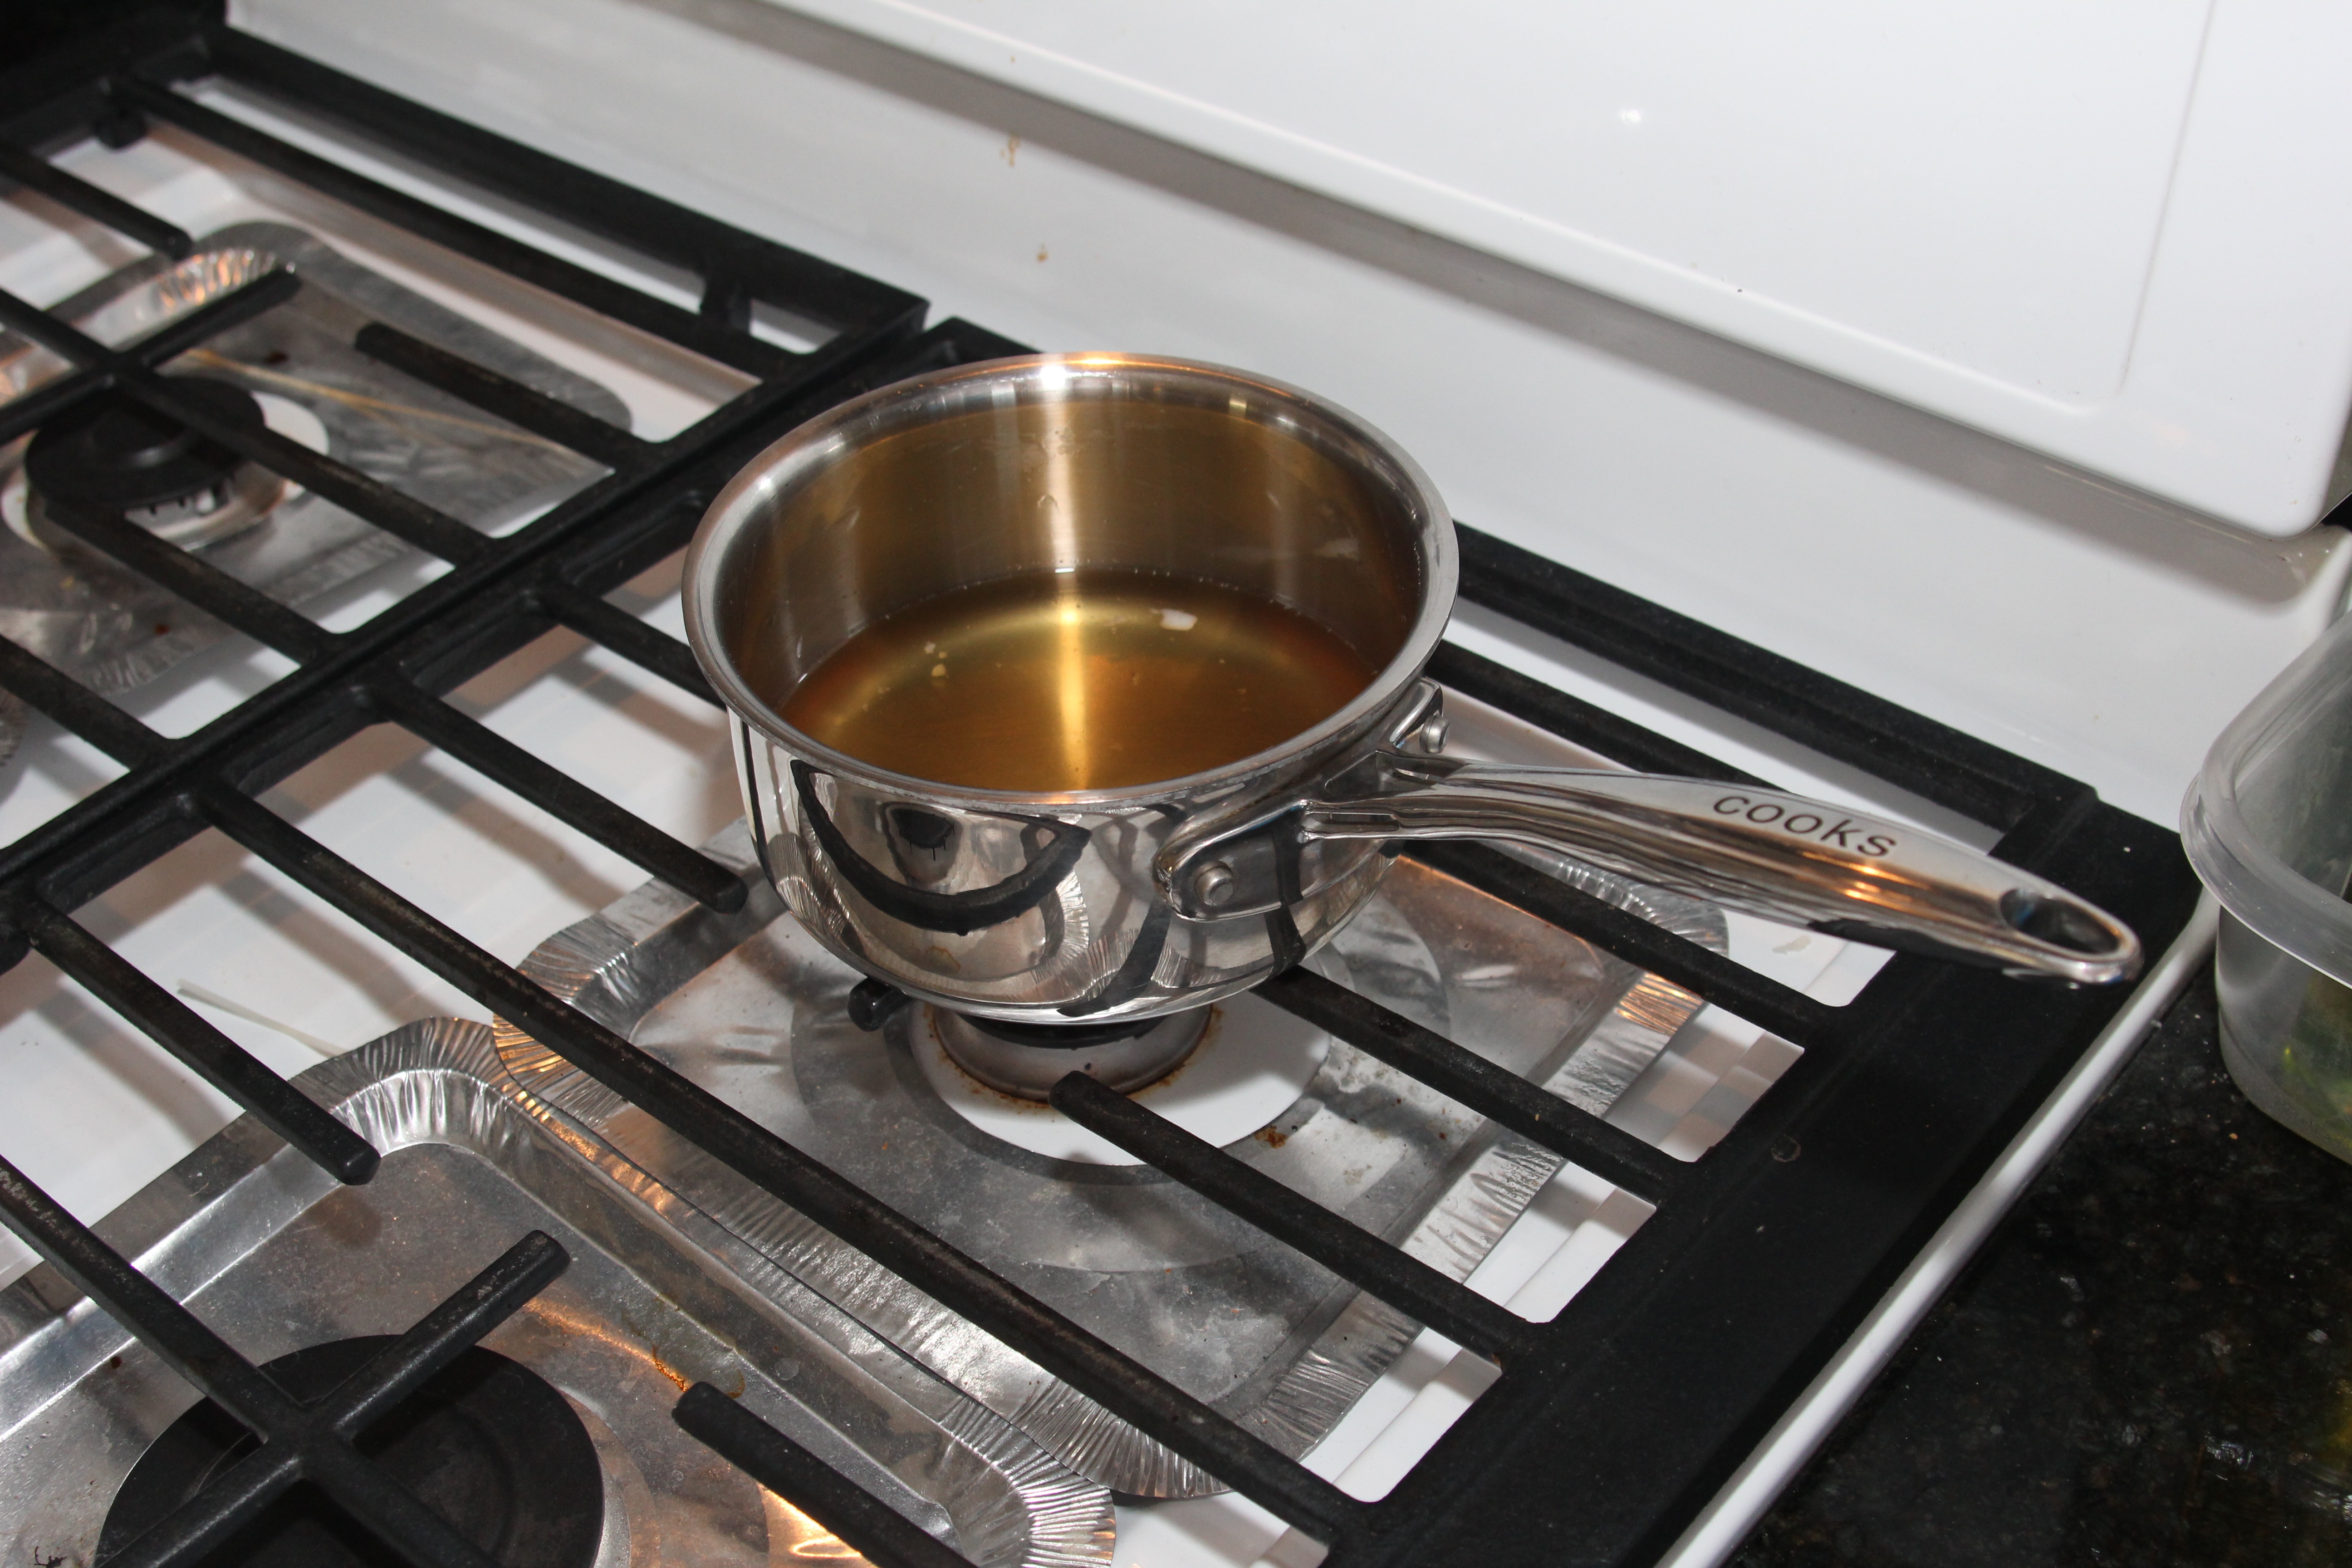
One of our quick set-and-forget meals is chicken adobo, via slow cooker. Especially fast this time considering we threw together the onions, ginger, soy sauce, and rice vinegar along with frozen chicken thighs into the slow cooker set to HI for 5 hours, while finishing lunch.

Chicken Adobo, presented by Captain Slow Cooker
In terms of recipe, there’s not much to write about since it mostly follows this recipe with the exception of using Tamari sauce instead of traditional soy sauce. I’m not going to attempt to claim any authenticity on how this dish is made, but it makes for a mean stew over rice.
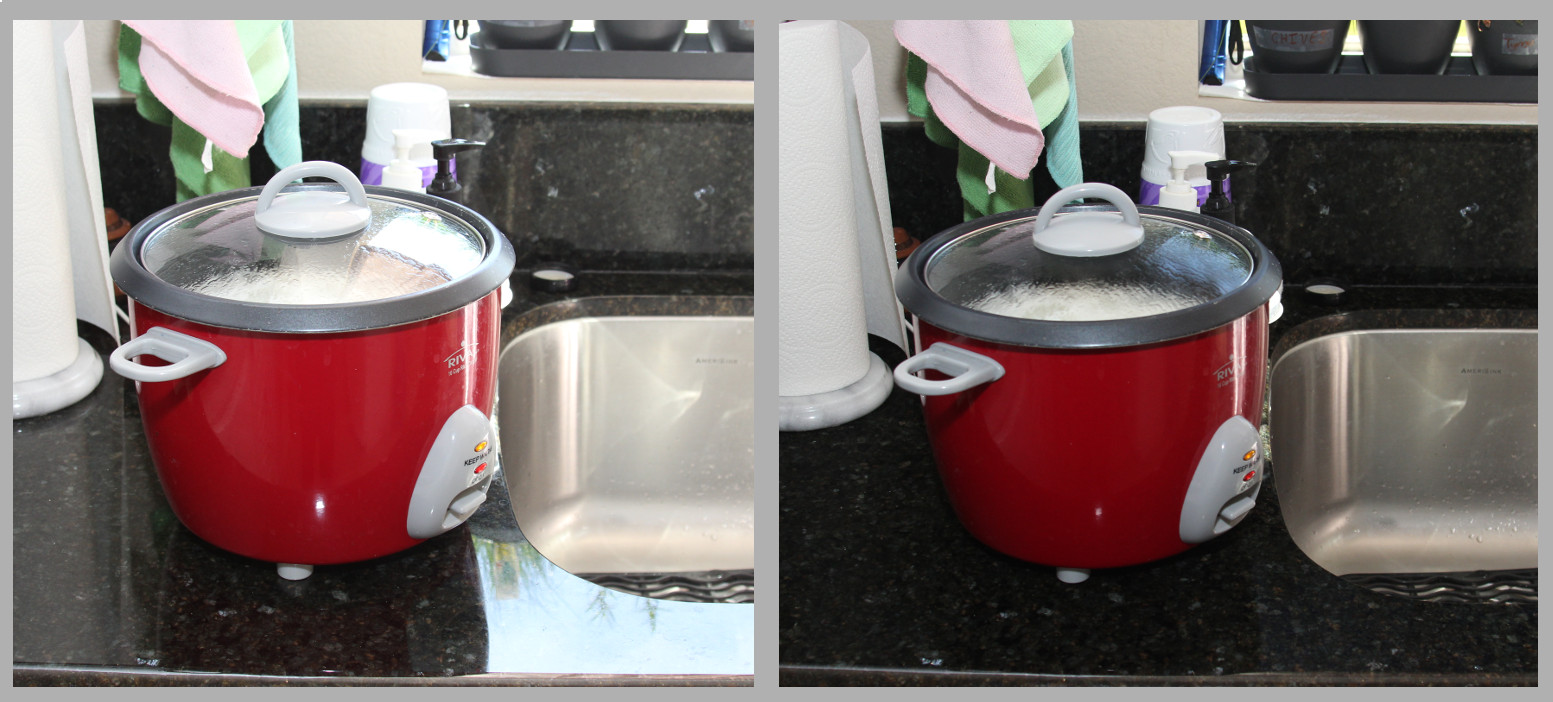
Rolling your eyes away from the wish-you-could-taste it bowl towards the spoon gives away me using a new photography toy for this shot.
Our dining table which doubles as the default naturally-lit food photo staging platform is positioned in front of a large sliding glass door. I had wanted to help reduce some shadows within the bowl as well as softening the light source, when I remembered I had obtained but not-yet-used a combo light diffuser/reflector kit.
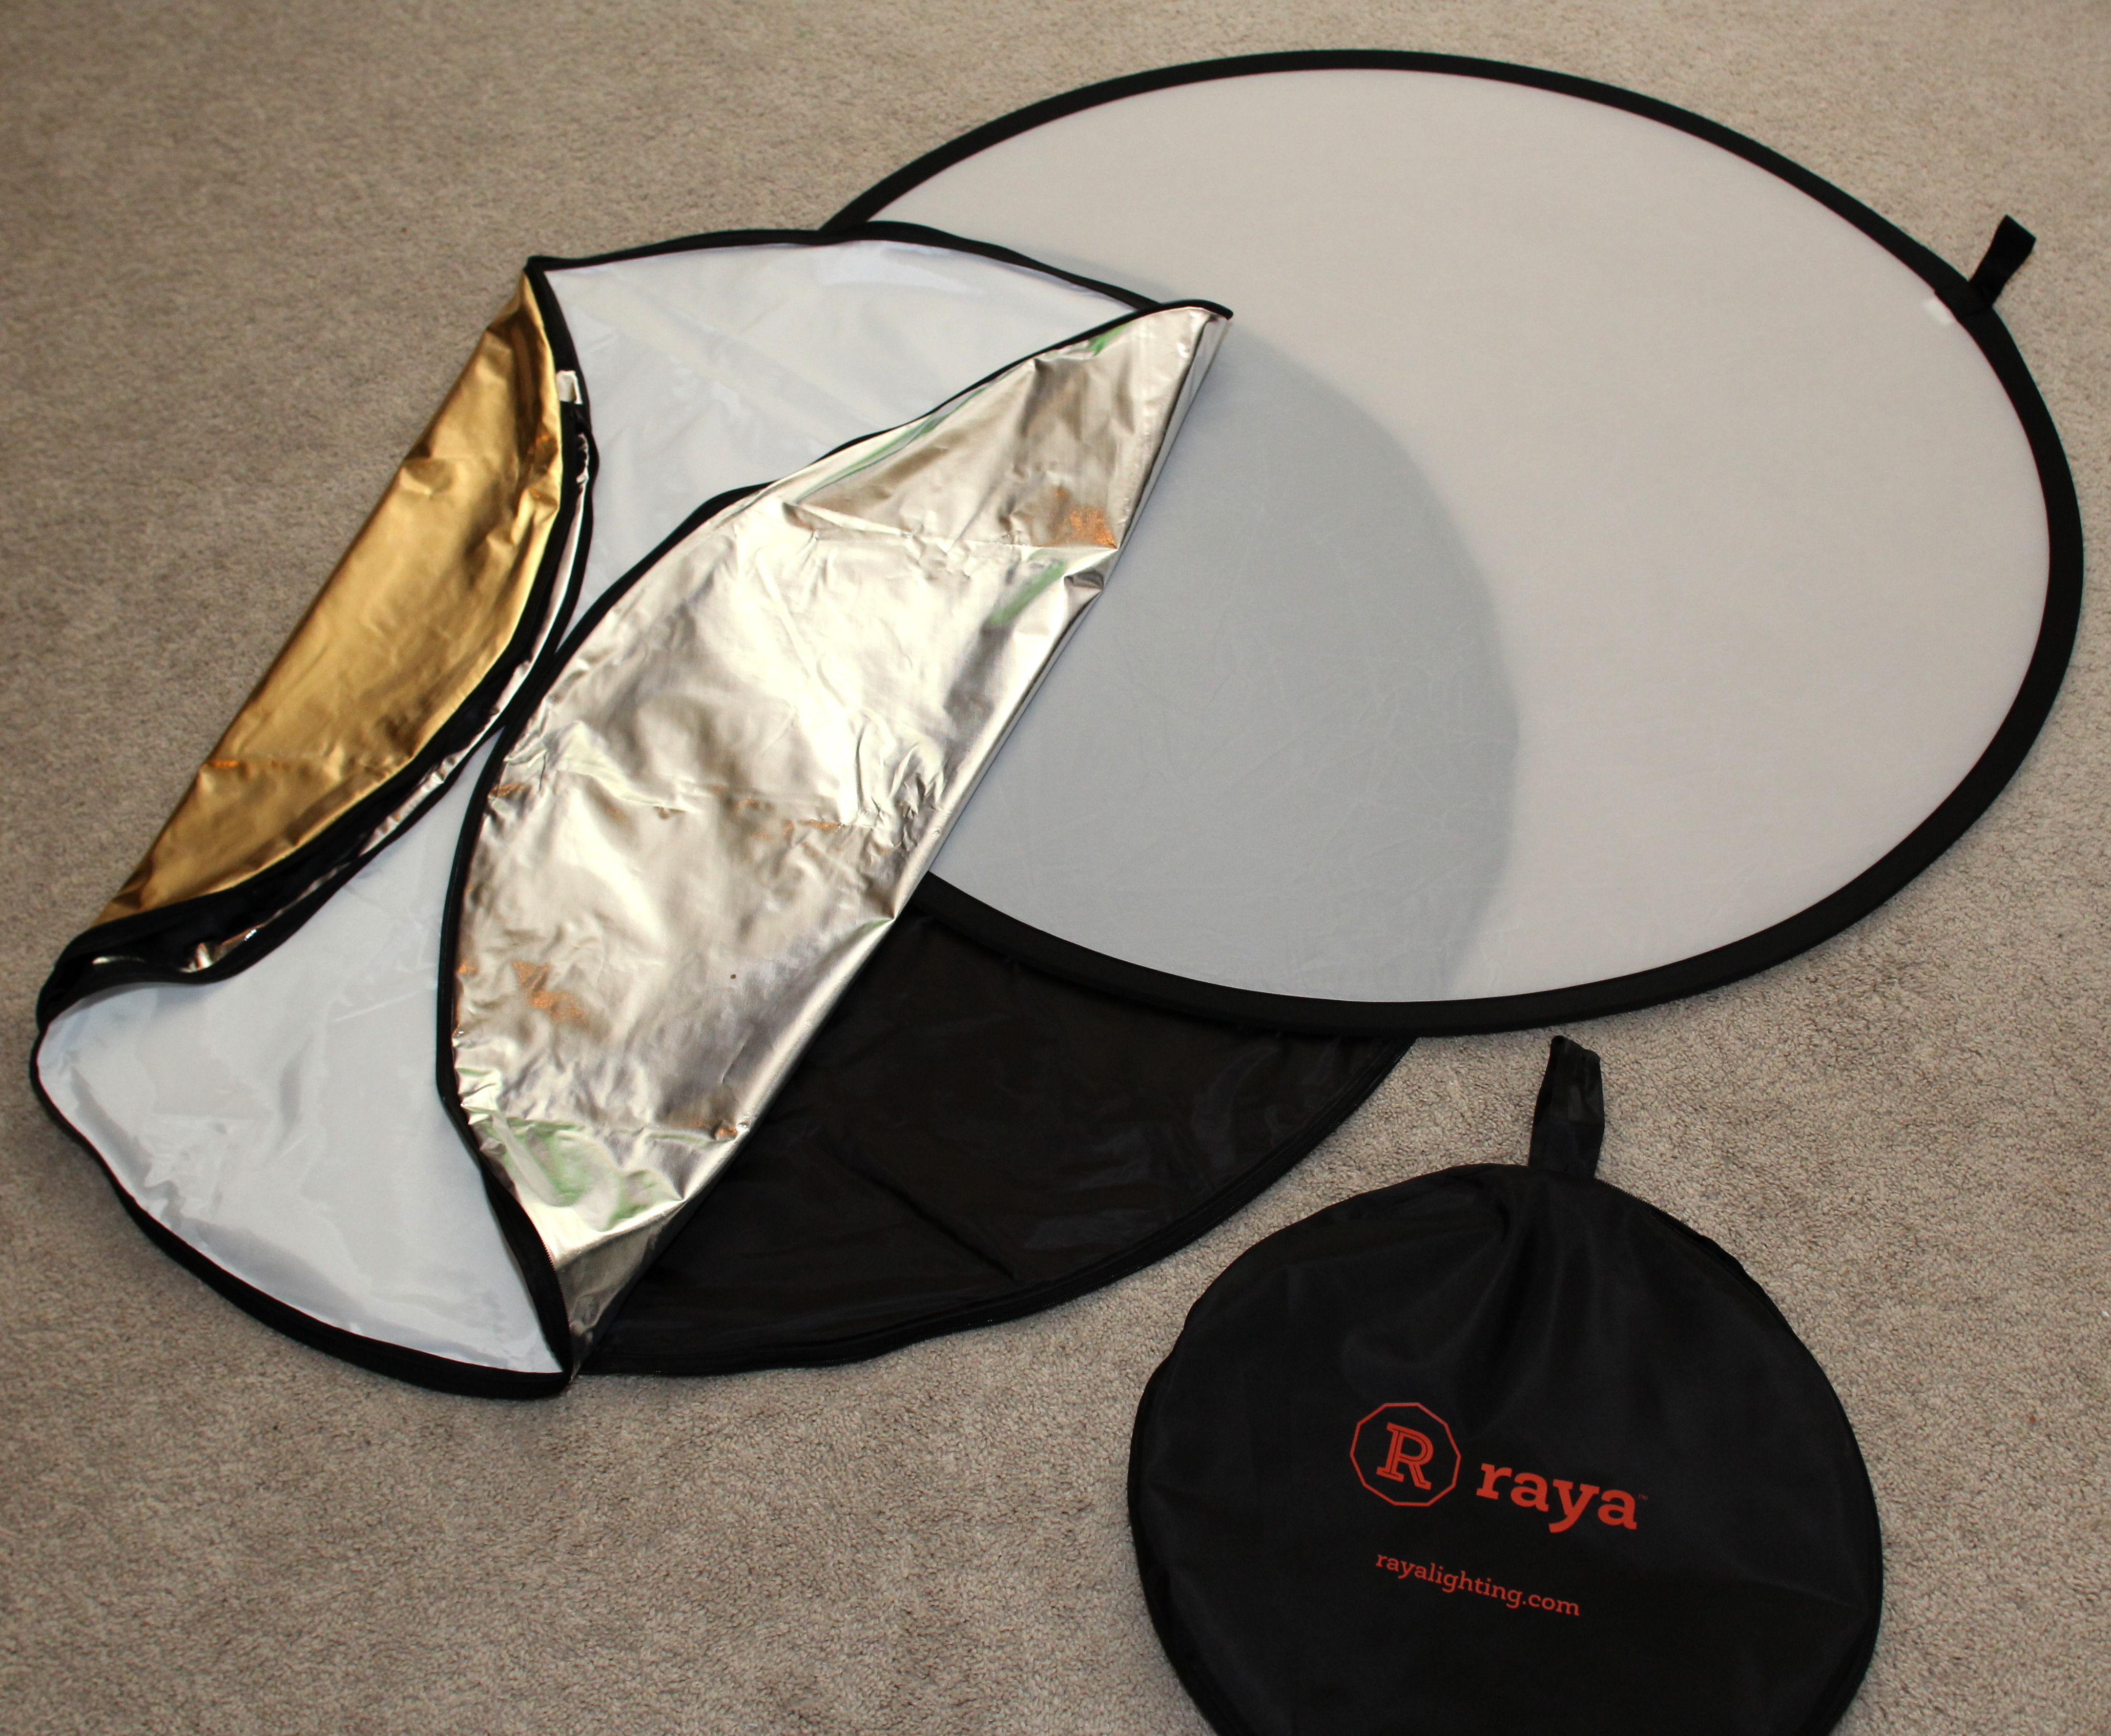
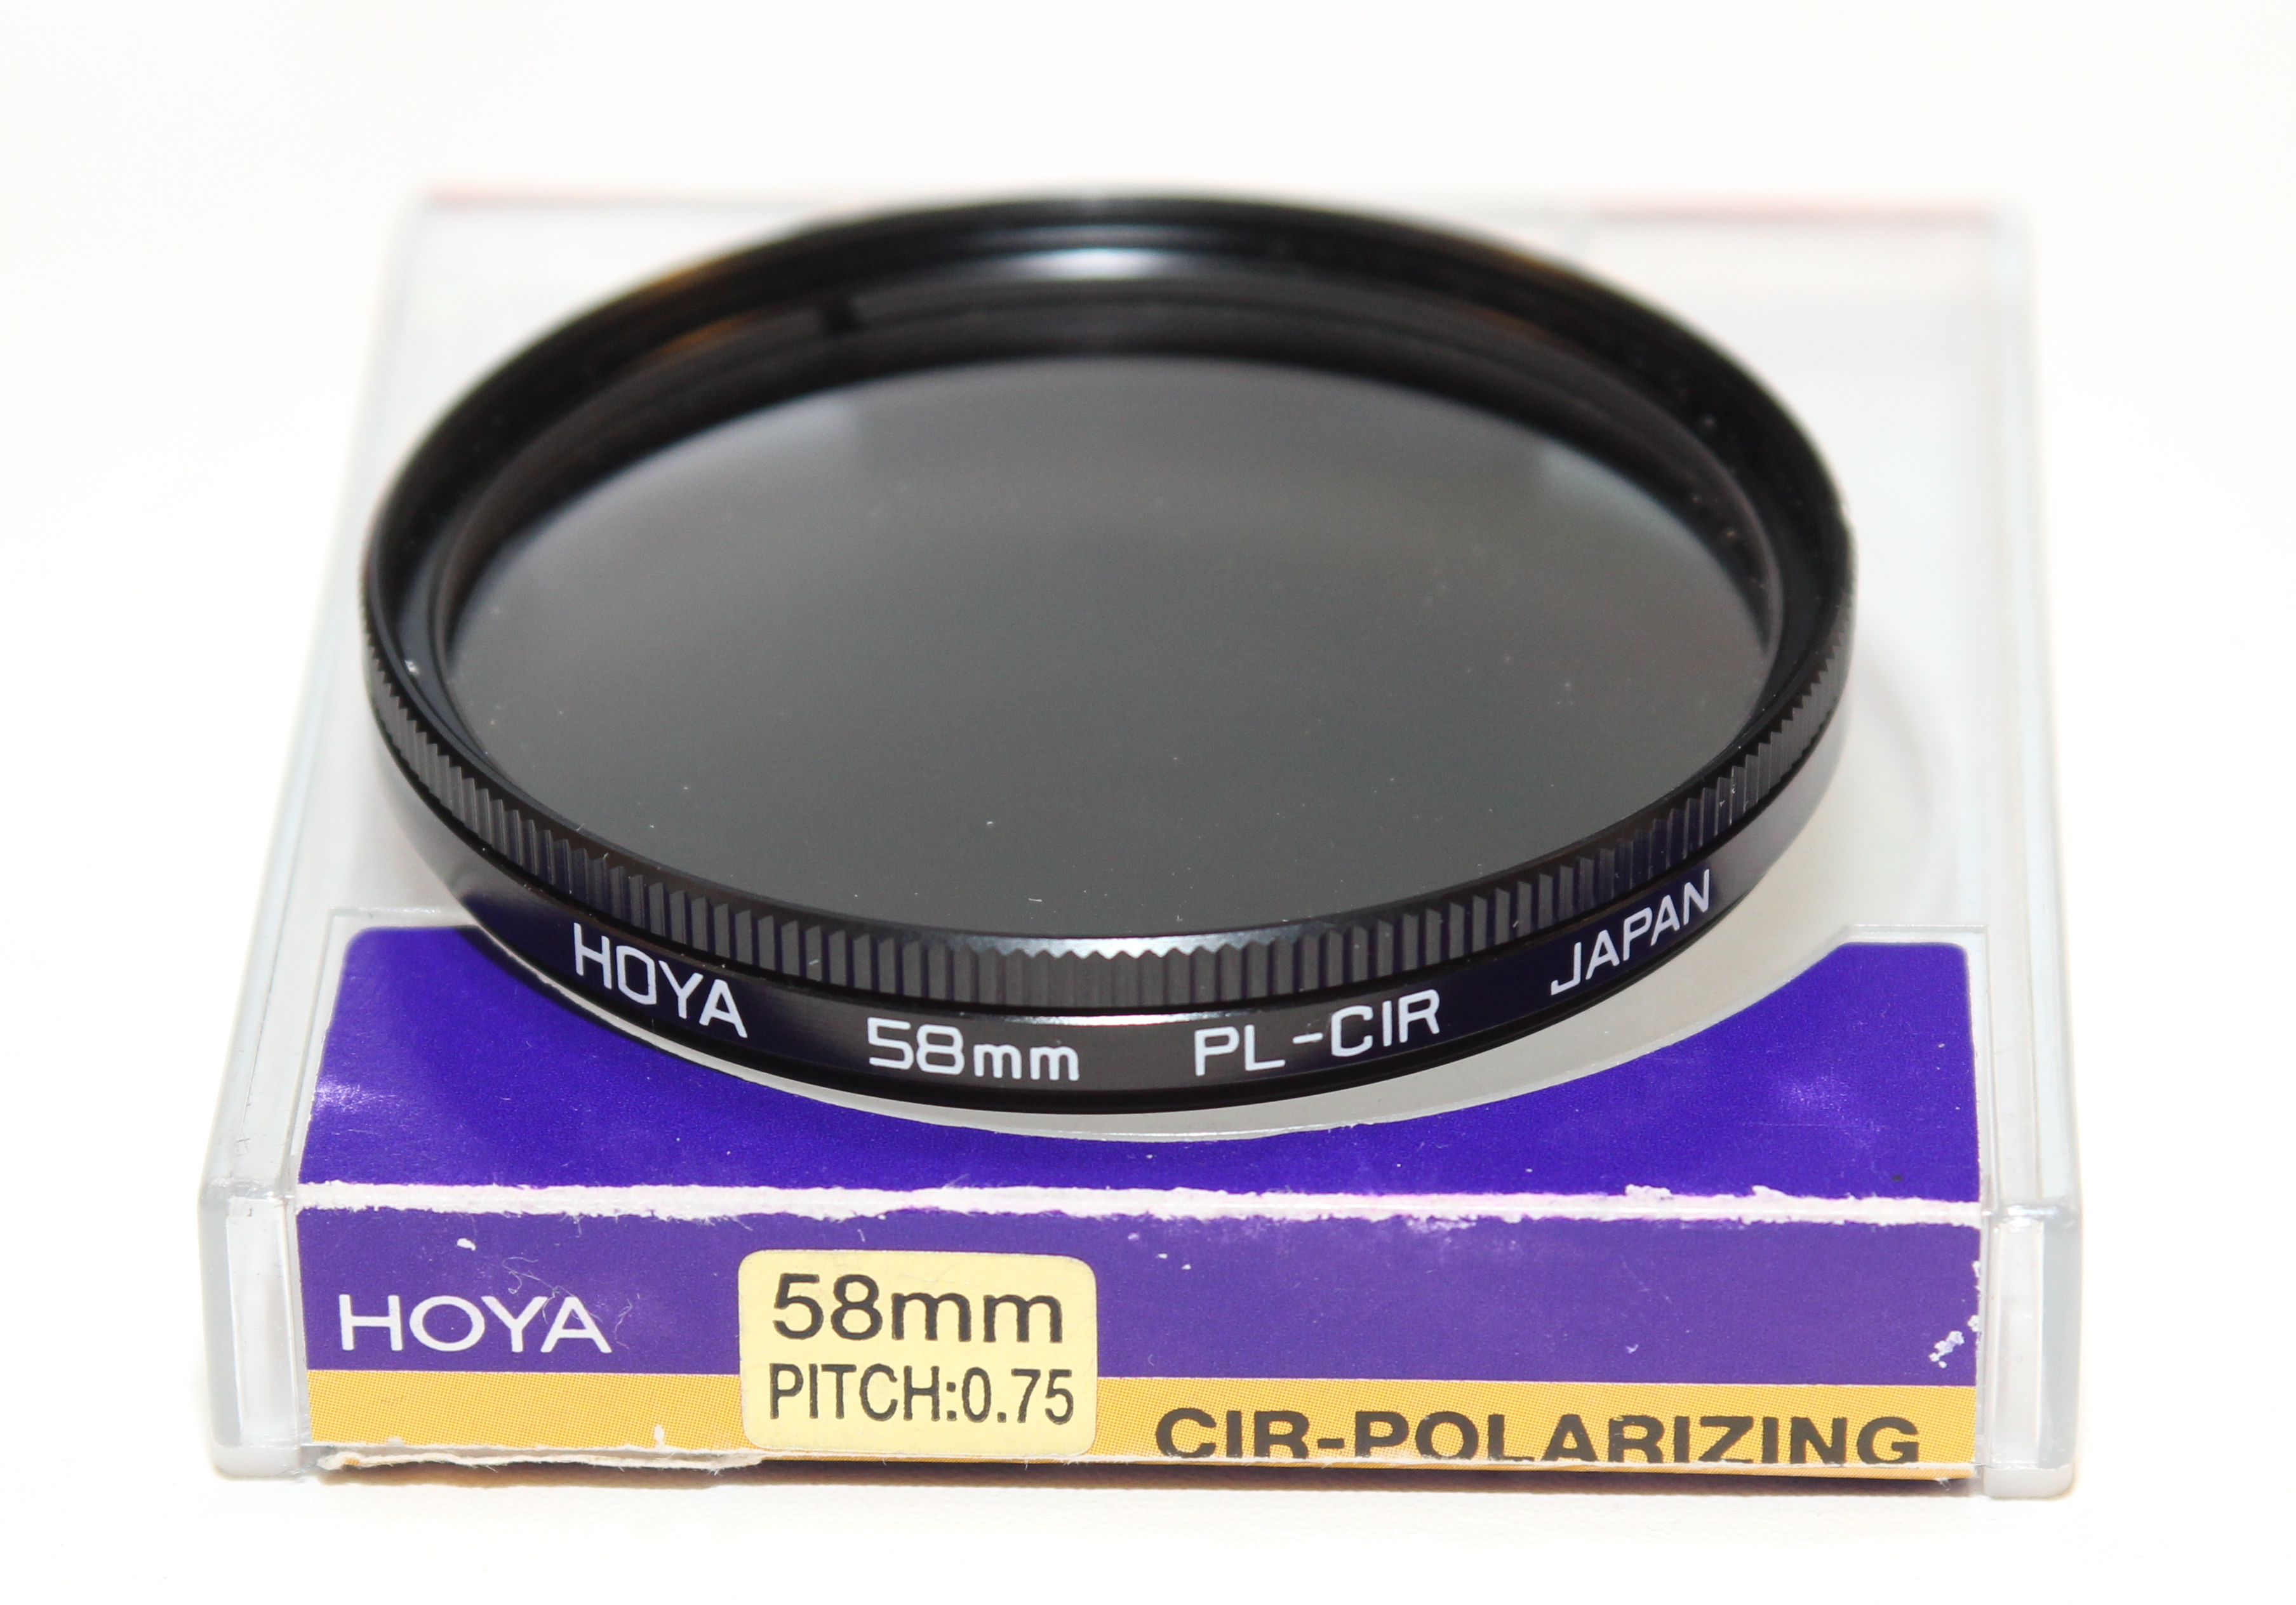
Diffuser disc with reversible disc sleeve for solid white, gold, silver, or black.
Comparing my kit to the Neewer 43-inch / 110cm 5-in-1 Collapsible Multi-Disc Light Reflector[*] leads me to believe this kit is manufactured and labeled for various retailers under different names.
With the camera on a tripod set to self-timer, I composed the shot while holding the diffuser disc (without the reflective sleeve) to cover the bowl + place setting. The immediate effect was the shadow on the inside-right of the bowl was much attenuated, and the softened lighting made the chicken thigh stand out more.
I look forward to making more use of the diffuser disc and the included sleeve (silver, white, gold reflective colors, and black absorbent color).
The Neewer 43-inch / 110cm 5-in-1 Collapsible Multi-Disc Light Reflector[*] looks to be identical to my combo diffuser/reflector kit. My bag says “raya” on it, and going to the listed “rayalighting.com” redirects to a corporate holding site which only references the raya brand as “coming soon”, which supports my white-label theory.
I originally obtained my kit a few months ago from another specialty retail shop using some bonus store credit. The Neewer branded kit comes in about $2 less than what I would have paid for mine.
For $17.50 at time of writing, it seems to be a low-risk purchase for something that could be very useful to have on hand, and to get into lighting techniques whether you’re shooting with a cell phone, point-and-shoot, SLR, medium format…etc. The diffuser disc definitely softens light, and the reflectors can light up faces outdoors.
[*] Product links included on this page lead to external merchant site(s) in which this site participates in a link referral program. Clicking through these links and purchasing referenced products or other products sold by the merchant helps this site. More information may be found on our “Support Us!” page.